Think metal panels are just for roofs? Think again. Interior metal panels are the often-overlooked workhorse for many commercial and utility-driven spaces. From accent pieces to fully lining the interiors of workshops, metal paneling provides a durable, easy-to-clean surface that can brighten up even the gloomiest spaces.
That said, interior paneling is often left as an afterthought, and that’s where problems start. Rushed orders, mismatched specs, or awkward installs can slow down a project that should have been straightforward. The fix? Make interior panel planning part of the early conversation, ideally while you’re framing or ordering materials.
Below, we’ll walk through what metal panels work best inside, what to avoid, and how early planning leads to better installs and fewer surprises.
The Must-Know Details for Metal Paneling for Interiors
Common Interior Applications for Metal Panels
- Full or Partial Wall Paneling
- Shops, garages & pole barns
- Warehouses & industrial facilities
- Airplane hangars & wash bays
- Ceilings
- Accent Pieces
- Wainscotting
- Backsplashes
- Accent walls
- Fireplace surround
- Breakfast bar wrap
Which Panel Types Work Best Indoors?
Not every metal panel profile is ideal for interior use. Over years of experience, a few profiles have emerged as the top choices for interior walls and ceilings:
Tuff Rib 3′ Panel (28-gauge White Liner)
This is a classic 36-inch wide, exposed-fastener panel with ribs (often 3/4″ high) spaced about 9″ apart. Tuff Rib is commonly used for interior ceilings in shops and garages. It’s typically supplied in a bright white factory liner finish, which is interior-grade paint. At 28-gauge steel, it’s lightweight yet sturdy enough for ceilings when attached to trusses or ceiling purlins at appropriate intervals.
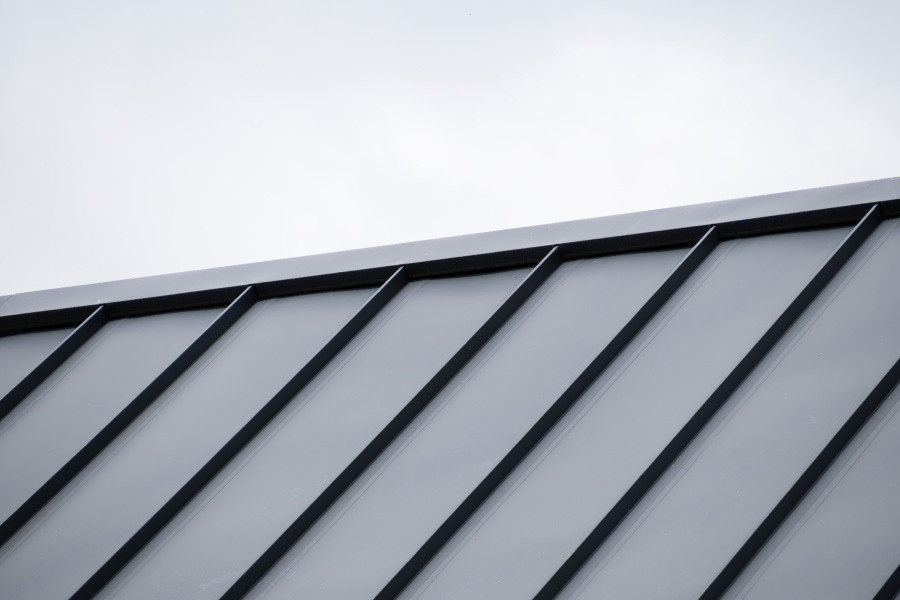
Low-Profile Panel (“Low Pro”)
Low Pro is a flat (or very low rib) panel that is popular for interior walls. It gives a nice, clean look with minimal corrugation. Low Pro panels are easier to wipe down and great for creating a bright, clean shop interior. However, you should avoid using low-profile panels on ceilings. They have limitations in length and load capacity. In practice, Low Pro panels do not typically run longer than about 15–16 feet. Trying to span a large ceiling with them can lead to seams (if you have to splice panels) and potential sagging if the panel isn’t rigid enough over a long, unsupported span. Save the Low Pro for the walls, and use a stiffer profile for the ceiling.
1/4″ Corrugated Panel
Corrugated metal with a very shallow corrugation (around 1/4″ high) is often used for accent areas and aesthetic touches. It might cover a feature wall, backsplash, or wainscot in an entryway or retail space to add texture and a modern-rustic vibe. The shallow corrugation is easier to install over existing surfaces as a retrofit accent, but it’s not as commonly used for full shop interiors due to its higher cost (per coverage area) and more decorative purpose. When used, it’s usually in smaller areas or partial walls to draw the eye.
A Note on Interior Metal Wall Finishes
Most interior metal panels come with a bright white polyester finish on the visible side, often called “white liner.” This is an interior-only coating, a cheaper, non-weatherized paint that isn’t meant to withstand UV exposure or harsh outdoor conditions. The upside is that it’s very bright (high reflectivity, which helps illuminate the building’s interior. The downside is you should never use interior-grade panels on an exterior-facing job (they’ll discolor and degrade).
Also, color selection for liner panels is usually limited (standard white is by far the most common, with maybe a couple of neutral options). This isn’t usually a problem, since inside a shop or barn, brightness and practicality matter more than color. Just be aware that the white liner panels you get for your interior won’t have the same paint system as an exterior roof or siding panel.
3 Installation Tips That Aren’t in the Guidebooks
Installing metal panels indoors comes with its own set of considerations. The manufacturer’s installation manual might not spell out every little trick, so here are a few pro tips to keep in mind:
1. Sheet Your Walls Before Paneling
One common technique is to install sheathing (like OSB or plywood) on the interior framing before you put up metal wall panels. Having a solid backing behind the thin metal allows you to fasten the panels wherever needed and provides something for screws to bite into besides just a narrow stud. Interior liner panels often have specific fastener spacing (for example, screws every so many inches along the panel’s width and length). If you only have vertical studs and no continuous backing, you might find that the spot where a screw should go doesn’t line up with a stud. By sheathing or at least running horizontal strapping, you gain flexibility in fastener placement and a sturdier wall overall. This step isn’t always explicitly in the installation guide, but experienced builders know its value.
2. Plan Panel Orientation with Your Framing
Typically, interior wall panels are run vertically (floor to ceiling), just like exterior siding, for a clean look and easier draining of any condensation. However, if your walls are not sheeted and you only have bare studs, you might consider running panels horizontally in some cases. Horizontal paneling can be installed such that each panel spans across multiple studs, allowing you to anchor it along each stud line. This is an uncommon approach (vertical is preferred), but it illustrates why thinking about orientation early is important. The key is to frame and prepare so that you can run panels the way you want. That usually means adding backing or extra studs/blocking so you can confidently screw the panels in place. Nothing’s worse than discovering after the fact that you have no support behind the middle of a panel because of how it aligns with the structure.
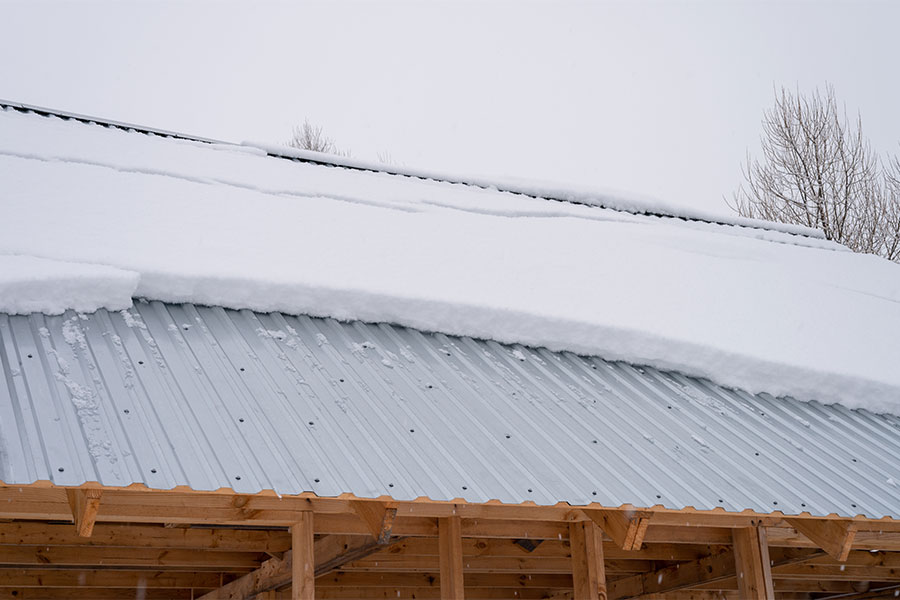
3. Account for Trusses, Spacing and Insulation
Look up at the ceiling structure and consider how it will support interior panels. How far apart are your roof trusses or ceiling joists? If you have wide truss spacing (say 4 feet or more), an interior liner panel (especially a light gauge one) will sag under its own weight or under insulation unless you add some supports. Many builders will run ceiling purlins or strapping across the trusses to screw the ceiling panels to, which is required if truss spacing is beyond a certain span.
Also, think about insulation: if you plan to blow in a foot of insulation on top of a ceiling panel, that panel had better be strong enough or well-supported enough to hold it. These considerations might not be obvious from a generic install guide, but on real jobs they’re critical.
Common Mistakes to Avoid with Interior Metal Panels
Everyone makes mistakes, but you can avoid a few common ones when it comes to ordering and installing interior metal panels. Here are some frequent pitfalls and how to steer clear of them:
- Ordering Panels That Are Too Long (or Too Weak) for Ceilings: Always check the maximum recommended length for the panel profile and gauge you’re using. In many cases, 15-16 feet is the practical max length for low-profile interior panels. If your building is wider than that, you either need to lap two pieces (not ideal on a ceiling) or choose a heavier-duty panel that comes in longer lengths. Similarly, using a panel that isn’t designed to carry loads (like heavy insulation) across a wide bay is asking for sagging or failure.
- Using a Low-Pro Panel in High-Load or Wide-Span Situations: Don’t put a weak panel where a strong panel is needed. A prime example is using a low-profile 29 or 28-gauge liner on a ceiling with trusses 4-5 feet apart, which holds a pile of blown-in insulation. That panel could oil-can or even bow under the weight over time. Likewise, if you have a very tall wall and you’re running panels full height, a heavier gauge panel might be advisable to avoid ripples or damage during installation. If in doubt, upgrade to a sturdier profile.
- Assuming Interior and Exterior Panels Are Interchangeable: Not all metal panels are interchangeable. Using interior-grade panels or trim outside will lead to rapid paint failure (fading, chalking) and potentially corrosion issues. Conversely, you might think of using an exterior panel indoors just because you have it; while that works structurally, you might be needlessly spending more, or the exterior panel’s paint system might not look great indoors under certain lighting. Ask your supplier if a panel is interior-only. If it is, keep it inside.
- Neglecting to Plan for Panel Layout During Framing: If you frame or build out a space without thinking of how the interior panels will attach, you could end up with awkward details, like forgetting to add backing or blocking at panel seams. To avoid this, integrate the interior panel plan into your framing plan.
Getting the Right Interior Metal Panel for the Job
Every project is a bit different, so choosing the best interior panel and installation method means asking the right questions before ordering your panels. Here are some of the questions to ask to make sure you get the right panel for the job:
1. Did you (or will you) sheet the walls?
If your walls are sheathed with OSB, plywood, or drywall, you’ve got flexibility. Most panels will work vertically with solid fastener support. No sheathing? You’ll need to match rib spacing to studs or add furring strips. In general, sheathing first makes things easier.
2. What’s the truss or framing spacing for the ceiling?
Tighter framing (2′ on center) means most panels will span fine. For wider trusses (4’–8′ apart), you’ll need either additional support (like purlins) or a stronger panel like PBR. Using the right panel prevents sagging or insulation issues down the line.
3. Will there be insulation?
Blown-in or batt insulation adds weight and changes how panels perform. Some lighter profiles won’t hold up without extra support. Let your supplier know if insulation is involved so they can recommend a heavier gauge or added bracing.
4. How tall are the walls, and are you paneling all the way up?
If you’re just covering the bottom 8 feet, we can suggest a cost-effective panel and finishing trim. For full-height walls, we’ll need to plan for longer cuts or stacked panels with trim between them. Clear wall height upfront helps avoid sizing mistakes.
5. Are there any special conditions?
Is the area you are paneling exposed to high moisture or chemicals? You may need galvanized or PVC-coated panels instead of standard white. Unusual environments like wash bays, horse arenas, or well houses often require specific finishes. Always flag these early so we can guide you to the right option.
Need a Hand Before You Get Started?
Interior paneling projects can come with a few curveballs, but most of them are easy to avoid with a little planning. A short call or in-person chat with our team can help make sure everything lines up: the panel type, the length, the install plan, and what’s going behind it. At Great Northern Metal Company, we’ve supplied interior metal paneling for all kinds of shop interiors, pole barns, and everything in between.